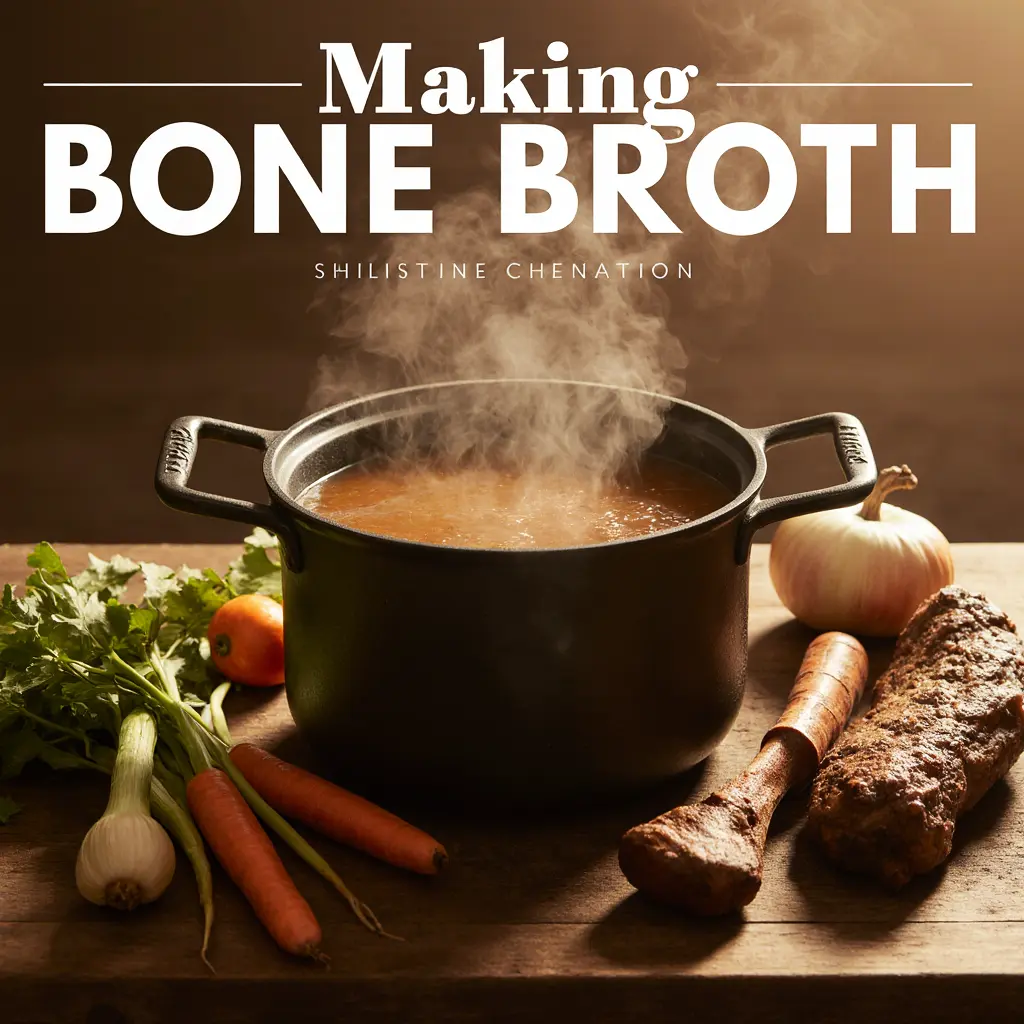
Making Bone Broth at Home: A Beginner’s Guide
Table of Contents
There’s a certain magic that happens when a pot of bone broth simmers quietly on your stove. The deep, rich aroma fills your kitchen, transporting you back to a time when food was simple, wholesome, and made with care. If you’ve ever wondered how to recreate this nourishing elixir in your own home, you’re in the right place. This guide will walk you through everything you need to know about making bone broth at home—from choosing the right bones to mastering the simmering process.
What is Bone Broth? Understanding the Basics
Bone Broth vs. Stock vs. Broth: What’s the Difference?
You’ve likely seen terms like stock, broth, and bone broth used interchangeably, but they aren’t quite the same. Stock usually involves simmering bones along with vegetables for several hours, whereas broth is lighter, crafted from meat with a brief simmering process. Bone broth, on the other hand, goes beyond both by requiring extended simmering to unlock deeper flavors and nutrients. By simmering bones for 12-24 hours (or more), you extract a wealth of nutrients, including collagen, gelatin, and essential minerals. As a result, bone broth becomes a concentrated source of nutrients that actively nurtures your gut, fortifies your joints, and revitalizes your skin from within.
Why Make Bone Broth at Home?
Store-bought broths are convenient, but they rarely offer the same nutritional value or depth of flavor. By making bone broth at home, you gain full control over what goes into your pot. No additives, no preservatives—just pure, wholesome ingredients. Plus, it’s surprisingly cost-effective. You can use leftover bones from meals or buy inexpensive marrow bones from your local butcher. The health benefits? Better digestion, stronger joints, and a natural immune boost.
Essential Ingredients for Making Bone Broth at Home
Choosing the Right Bones
The bones you select will directly influence the taste and nutritional richness of your broth.
- Beef bones (marrow, knuckles) for a hearty, robust flavor.
- Chicken carcasses and feet for a lighter, collagen-rich broth.
- Fish bones (heads and frames) for a delicate, mineral-packed option.
Whenever possible, opt for organic or grass-fed sources. This guarantees you’re sourcing the purest, most nutrient-rich bones to enhance the quality of your broth.
Vegetables and Aromatics
Adding a handful of vegetables will enrich your broth with natural sweetness and layered flavors:
- Onion (quartered)
- Garlic (smashed)
- Carrots (chunked)
- Celery stalks
Optional add-ins like ginger or turmeric can enhance anti-inflammatory properties.
The Role of Acid
A splash of apple cider vinegar is more than just a flavor booster. It draws essential minerals out of the bones, infusing your broth with a deep nutritional richness.
Ingredients Breakdown Table
| Ingredient | Purpose |
|---|---|
| Beef/Chicken/Fish Bones | Nutrients, collagen, flavor base |
| Carrots, Celery, Onion | Adds sweetness and aromatic depth |
| Garlic, Ginger, Turmeric | Enhances immune-boosting properties |
| Apple Cider Vinegar (2 tbsp) | Extracts minerals from the bones |
| Water | Cooking medium, base of the broth |
Step-by-Step Guide on How to Make Bone Broth at Home
Preparing the Bones
Start by roasting the bones at 400°F for about 30 minutes. This caramelizes the exterior, adding a rich, roasted flavor. If you’re using raw bones, blanch them first by boiling for 10 minutes to remove impurities.
Simmering Process
Choose your preferred method based on your schedule and equipment:
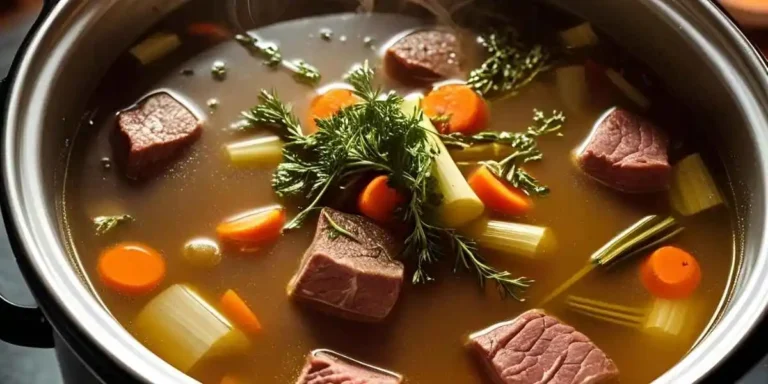
- Stovetop: Arrange your bones and vegetables in a spacious pot, pour in enough water to fully submerge them, and let it gently simmer on low heat for 12 to 24 hours to unlock maximum flavor and nutrients.
- Slow Cooker: Perfect for a hands-off approach. Set on low for 24 hours.
- Instant Pot: A high-pressure option that reduces cooking time to 3-4 hours without compromising on quality.
Monitor your pot occasionally and gently skim away any foam that floats to the surface to maintain a clear, clean-tasting broth. This keeps your broth clear and clean-tasting.
Straining and Storage

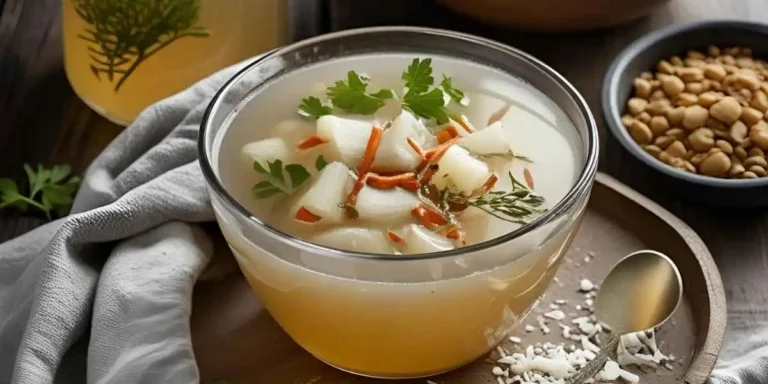
Once your broth has reached a deep golden hue, strain it through a fine mesh sieve. Let it cool before transferring to storage containers.
- Refrigerate for up to 5 days.
- Freeze in mason jars or silicone trays for up to 6 months.
Common Mistakes to Avoid
- Using too few bones: Results in a weak, watery broth.
- Boiling instead of simmering: Causes cloudy broth and less nutrient extraction.
- Skipping vinegar: You’ll miss out on key minerals.
- Forgetting to skim: Leads to impurities and off-flavors.
Health Benefits of Bone Broth You Can’t Ignore
Gut Health and Digestion
The gelatin in bone broth acts as a natural healer for your gut lining, making it a popular remedy for leaky gut syndrome. Amino acids like glutamine promote better digestion and nutrient absorption.
Joint and Bone Support
Collagen and minerals in bone broth nourish your joints, reducing discomfort and supporting bone density over time.
Immune Boosting Properties
Loaded with anti-inflammatory agents, essential amino acids, and vital minerals, bone broth naturally reinforces your immune defenses. Regular consumption can help you fend off colds and infections more effectively.
Flavor Variations and Advanced Tips for Perfect Bone Broth
Adding Herbs and Spices
Experiment with herbs like thyme, rosemary, and bay leaves. Whole peppercorns add a subtle kick without overpowering the broth.
Enhancing Nutritional Value
For a supercharged broth, consider adding:
- Seaweed (kombu) for iodine and trace minerals.
- Miso paste for probiotics (add after cooking).
Creative Uses of Bone Broth
Bone broth isn’t just for soups. Use it to:
- Cook rice or quinoa for added flavor.
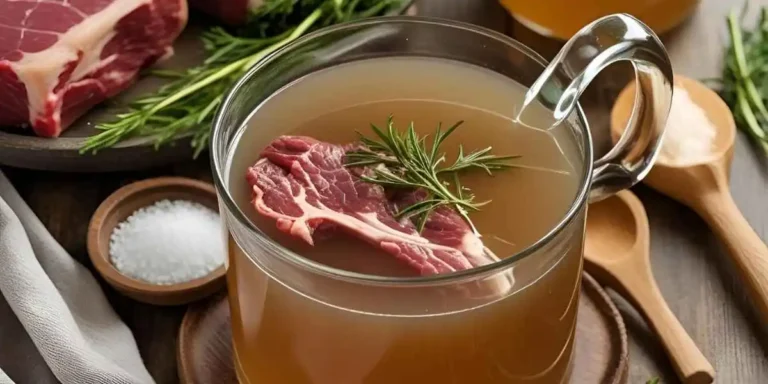
- Sip it as a warming, nourishing beverage.
- Use as a base for stews, sauces, or gravies.
Frequently Asked Questions (FAQ) About Making Bone Broth at Home
How long should I simmer bone broth for maximum benefits?
For the richest nutrient profile, aim for at least 12-24 hours of slow simmering. Using an Instant Pot? You can achieve similar results in just 3-4 hours.
Can I reuse bones for a second batch of broth?
Yes, but keep in mind that the second batch, often called “secondary broth,” will be lighter in flavor and nutrients. It’s great for soups and lighter dishes.
How should you properly store homemade bone broth to keep it fresh?
Pour the broth into sealed glass jars and refrigerate for up to 5 days to maintain its freshness and flavor. For long-term storage, freeze in ice cube trays or mason jars for easy portioning.
Is making bone broth at home cheaper than buying it?
Absolutely. Store-bought bone broth can be quite expensive, especially for organic varieties. By making it yourself, you save money and ensure the highest quality.
Conclusion: Start Your Bone Broth Journey Today
Making bone broth at home is not just about creating a nutritious food; it’s about embracing a mindful approach to wellness. You now have the tools to craft your own batch of liquid gold, tailored to your taste and health needs. So, roll up your sleeves, gather your ingredients, and let the alchemy of slow simmering transform humble bones into a healing elixir.
Ready to nourish your body from within? Share your first bone broth-making experience in the comments below and inspire others to join this wholesome journey!